Introduction
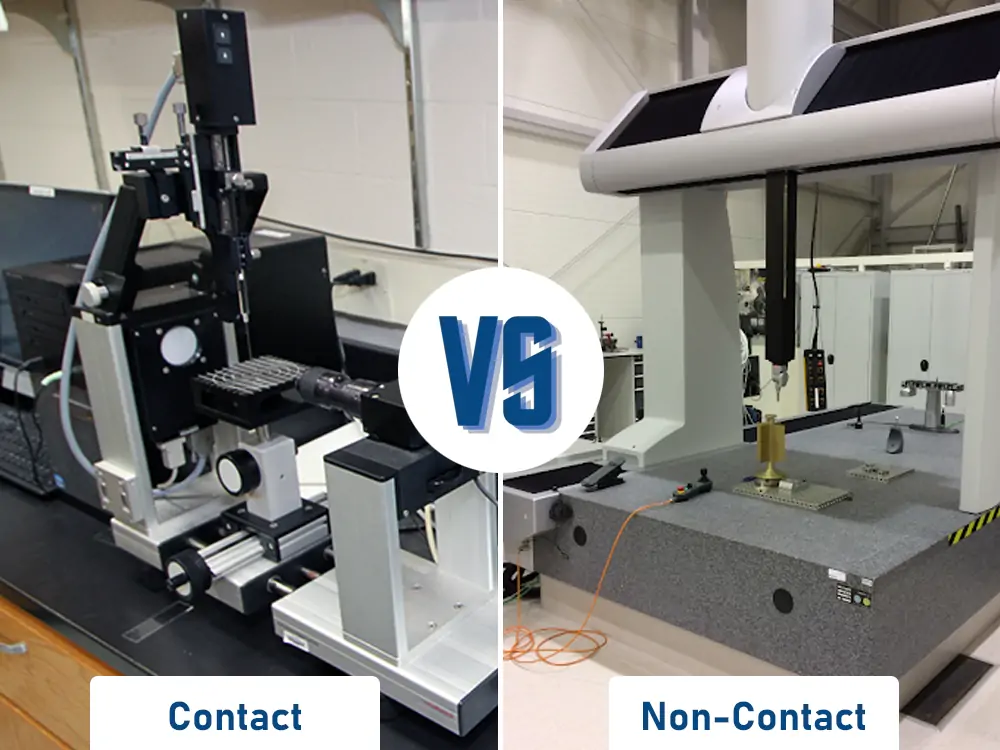
Manufacturing relies on measurement. “You cannot improve what you cannot measure,” especially true for manufacturing. In modern industries, measurement systems are essential for designing and building machine parts. There are two categories of measurement systems: contact and non-contact.
Contact measurement systems use physical probes to analyze an object. CMMs are the most advanced contact measurement devices. They can calculate perfect 3D geometry. However, non-contact measurement systems use a different technique. They measure an object’s dimensions without coming in direct contact. They use laser, photographic, or electrical techniques to calculate linear distance.
In this guide, we will go through both contact and non-contact measurement systems. You’ll learn about their advantages and disadvantages. In the end, you’ll know how to select the ideal measurement instrument.
Contact Measurement Systems
Definition and Working Principle
Contact measurement systems physically measure the distance on an object. Measurement tools are tactile probes, calipers, scales, or micrometers. They need contact with the object to perform the measurement. The working principle may differ depending on the type of device. In most contact measuring systems, a physical probe takes the measurement.
Types
Contact measurement systems operate on various principles. These include linear displacement, voltage fluctuation, 3D profiling, and proximity sensing. Let’s discuss the various types of contact measurement systems:
Vernier calipers and micrometers are simple mechanical tools that measure one-dimensional distance. They provide precision up to 0.01 mm. They are reliable and robust tools of conventional metrology.
LVDT and string potentiometer are electrical devices of measurement. The current fluctuation in the circuit measures the distance.
Coordinate Measuring Machines (CMM) are the most advanced forms of contact measurement systems. They have physical probes that touch an object and create a 3D mapping.
Advantages
Contact measurement instruments have been around for a long time. They are reliable measurement devices for scientific and industrial inspection. In recent years, CMMs have revolutionized dimensional profiling with high-precision 3D measurements. They can achieve single-point repeatability of up to 0.3 microns.
Contact-based measurement devices provide high accuracy, versatility, and precision. Dirty environments, low lighting, or dense materials do not hinder them. They measure profiles such as cracks, contours, inner diameters, and holes.
Disadvantages
One area where contact-based measurement falls short is measurement speed. Contact measurement systems are manually operated and time-consuming. They are unsuitable for high sampling rates and vibration frequency.
Contact measurement systems apply a small pressure on the object’s surface. External force can be problematic for deformable materials like plastic mold or clay. They can only measure physical properties such as roughness and dimensions. They cannot measure features such as temperature, color profile, or chemical composition.
Non-Contact Measurement Systems
Definition and Working Principle
Non-contact measurement systems measure an object’s physical attributes without direct contact. They can measure dimensions, geometry, temperature, color, or roughness. These instruments use optical technology like laser and structured light. They may also use electrical techniques like capacitance and fiber optics. Some advanced devices also use CT scanners. They use these methods to analyze objects at a distance. VMMs are an example of non-contact measurement systems. They get data through an optical sensor and camera. Computer software reconstructs the object’s surface using a point-cloud diagram.
Types
There are several kinds of non-contact measurement devices based on their measurement technique. Let’s discuss the primary types:
VMMs (Vision Measuring Machines) capture the image of an object using a camera. Computer software inspects the image and generates a 3D model for the object. It utilizes a technique known as point-cloud generation. Structured light scanners, laser triangulation scanners, and photogrammetry scanners are types of VMMs.
Capacitance sensors measure the distance between two points as a function of the capacitance between them. They are proficient at delivering high-resolution measurements. They measure distances in semiconductor wafers. The electronics industry uses these types of sensors.
Fiber optic sensors measure physical attributes in environments with electromagnetic interference. They are excellent at providing precise readings in high-frequency applications. They are suitable for metals, plastics, composites, and glass materials.
Advantages
Non-contact measurement systems do not interrupt an object’s motion. They do not apply pressure on the target, making them suitable for analyzing moving, delicate, or deformable parts. They can also measure temperature, roughness, texture, roughness, color, and chemical composition.
They work well with simulation software and geographical mapping. They are ideal for rapid sampling operations that need large datasets. One such example is the LiDAR range scanner. It can recreate the geometry of a large area by repeated scan point measurements.
Disadvantages
Non-contact measurement systems provide less accurate measurements than contact measurement systems. However, the gap between them is reducing with technological innovation.
These devices are also affected by environmental factors. For example, dark environments are unsuitable for visual measuring machines. Shiny workpieces lacking contrast are also challenging to measure. Non-contact measurement systems do not perform well in unclean environments.
Contact or Non-Contact?
Both contact and non-contact measurement systems have their benefits and drawbacks. Contact measuring devices are suitable for analyzing regular-sized parts. Boxes, frames, gears, levers, and metal sheets fall into their scope. In fact, one of the benefits of CMMs is its large stage area. It allows the measurement of heavy and large-sized parts. Their versatility makes them suitable for mechanical workshops and fabricators. They are the ideal general-purpose measuring devices.
As we zoom into small parts, we see the excellence of non-contact measurement systems. As we reach smaller part sizes, the need for microscopic inspection increases. Non-contact machines can achieve this high resolution due to innovative techniques. Optical lensing, current control, laser triangulation, and photogrammetry are a few. VMMs can map the entire surface of the object to a point cloud. The software can access this programmable representation. Capacitance and fiber optic sensors also have a high precision. They can measure objects down to a nanometer level.
On the other end of the spectrum is wide-range topographical mapping. This is done on a large scale, like a city or county. LiDAR is used for this type of mapping. LiDAR uses long-distance laser beams for measurement. The Earth’s surface is profiled by LiDAR.
Choose MXP Vision Measurement Solutions
At MXP, we manufacture cutting-edge vision measuring machines. Powered by our R&D software and debugging machines, these are the best measurement solutions in the industry. We offer multiple product series designed for our diverse consumer base. Whether you are an individual fabricator, small factory, or large enterprise, we have the right measurement solution.
With over 15 core patents and 150 industries served, we are committed to providing high-tech visual measurement to everyone. Our products are exported to over 20 countries and regions, and we have more than 2000 successful customer stories to share.
Visit our website for a complete list of our products. You can also contact us to discuss your specific requirements. Our professional team would be glad to assist you!

