Precision measurement is a necessity for modern manufacturing production. Even the slightest deviation can lead to poor quality or high costs. Traditional tools such as calipers and gauges are reliable, but they cannot meet the demanding speed and accuracy requirements of modern complex assembly lines.
Advanced tools like coordinate measuring machines (CMMs) and vision measuring machines (VMMs) have changed 3D measurement. They meet the high-precision demands of complex shapes, angles, and distances with ease. Both are powerful, but they are applicable to different scenarios and have unique advantages. This article will take a deep look at the differences between CMMs and VMMs, their respective advantages, and how to choose the best solution for your manufacturing needs.
What is a VMM?

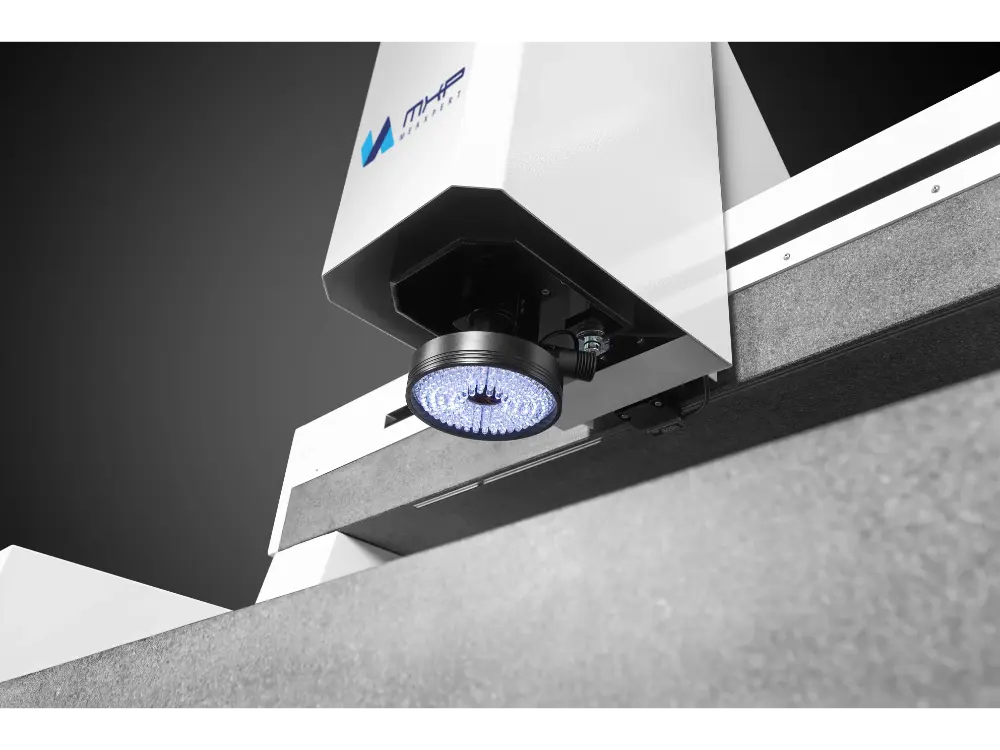
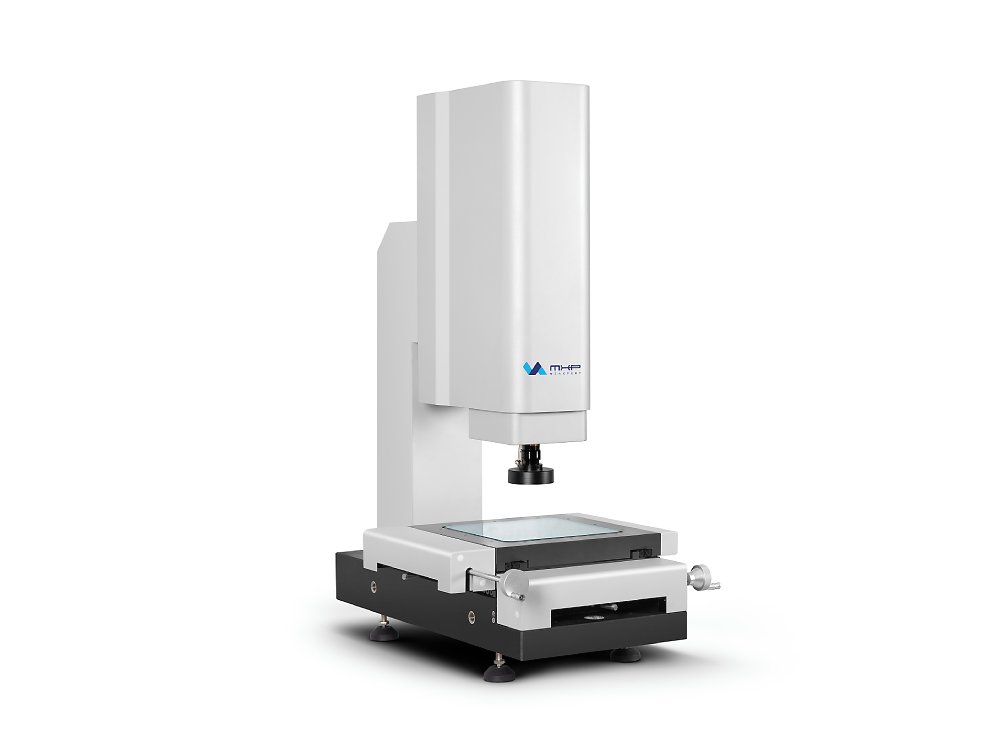
Vision Measuring machines (VMMs) are also called video-measuring systems or image-measuring systems. They are optical measuring instruments, ideal for measuring small or delicate parts. VMM machines use a non-contact measurement method, thus avoiding the risk of damage caused by physical contact.
The visual sensor is the core component of the VMM machine, which includes a camera and an optical lens. There are also laser probes and contact probes. The laser probe is used to measure transparent and translucent objects. The contact probe can measure 3D distance.
VMMs capture an object’s image with a camera and use computer software to generate a 3D model. The operator analyzes and measures linear attributes such as points, lines and angles as well as geometric attributes based on the model.
What is a CMM?

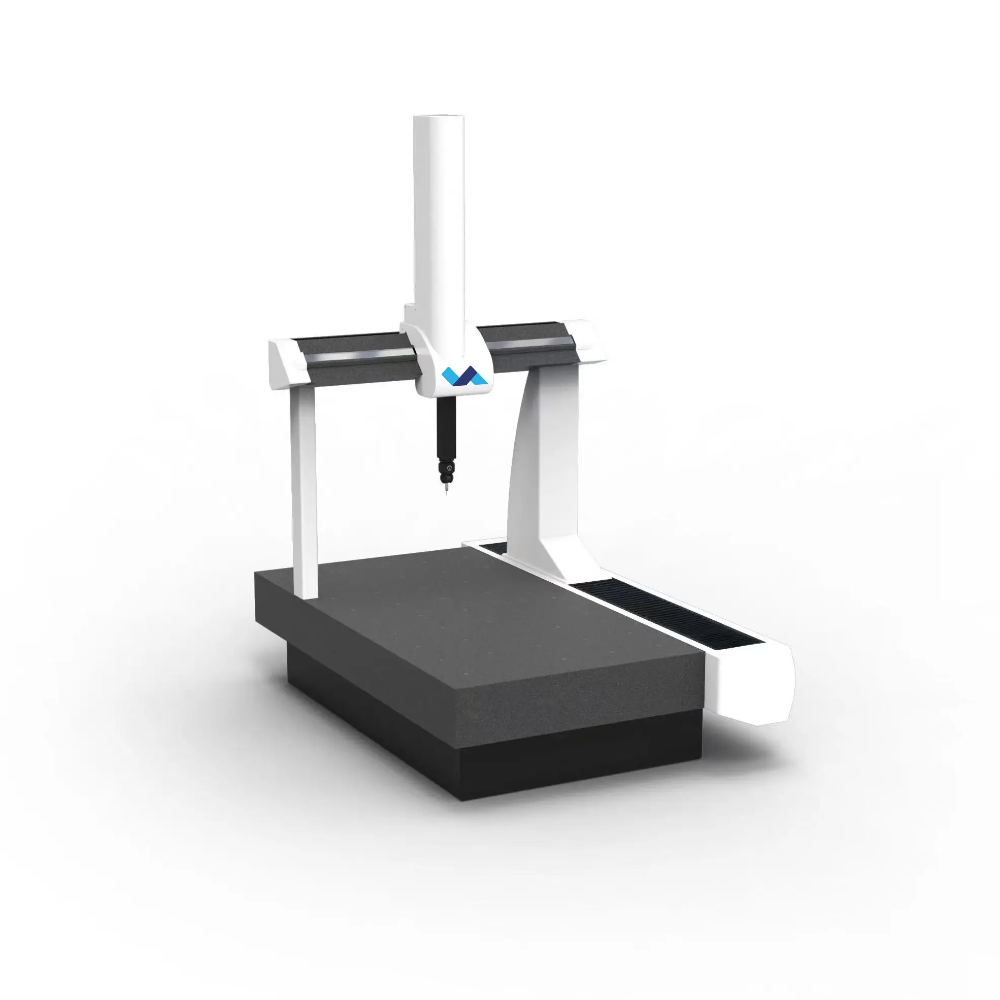
CMM stands for coordinate measuring machine, which uses a probe and computer software to analyze and measure objects. Unlike VMMs, CMMs are usually larger and have a solid granite platform, making them suitable for measuring heavy or large parts.
Coordinate measuring machines (CMMs) collect precise coordinate data by contacting different points on an object. The software then turns these coordinates into a detailed 3D CAD model. This lets users measure features like distance, angle, roundness, and geometric tolerance (GD&T). Some portable coordinate measuring machines (CMMs) now do not require a fixed workbench, making them more flexible to operate.
The Differences Between VMM and CMM
Both VMM and CMM quantify an object’s geometric features. However, they have some key differences. Let us evaluate some key aspects that contrast vision and coordinate-based measuring machines.
Measuring Methods
VMMs use non-contact optical systems. They rely on high-resolution cameras and laser probes. These tools capture images and measure small or delicate parts without touching them. CMMs use contact probes to gather coordinate data by touching the object. They also have larger stages than VMMs. This makes CMMs better for heavy or rugged parts.
Precision and Accuracy
Because VMMs use optical lenses and computer software tools, they are generally faster and easier to operate for simple measurements. VMMs offer features such as automatic edge detection, tracking, autofocus, and light adjustment tools. They can measure distances with an accuracy of up to 0.25 microns.
CMMs, while highly accurate (measuring distances with an accuracy of 2 to 5 microns), require more setup time and skilled staff to operate.
Applications
VMMs are ideal for industries that require non-contact measurement of complex or fragile parts, such as electronics, machinery, and medical devices. CMMs have bigger stage areas. They are popular in aerospace, automotive, and heavy manufacturing. This includes automotive prototypes, CNC fixtures like spindles and slides, and heavy machine parts.
Cost and Maintenance
VMMs are generally affordable. They are easier to maintain because of their smaller working parts. They require a small initial investment. However, their price is influenced by factors such as the VMM’s movement mode, sensor type, software functionality, and hardware configuration.
CMMs require a higher initial investment than VMMs. They are also bulkier and have complex moving parts. For this reason, maintaining them can prove challenging. CMMs require a trained operator to work them. Factors such as professional training, work hours, and shift timings may influence the cost of operating a CMM. Other cost factors may include licensing fees, calibration costs, and replacement of probe tips.
Should I choose VMM or CMM?
Want to know which one is right for you? Start by asking yourself these questions:
- Think in terms of space. Is your workshop large or small? CMMs are big and might be unsuitable for small workshops. VMMs, on the other hand, are compact machines. If you are working in a small area, they are the ideal choice.
- How many parts do you need to process in a day? Many workshops process large quantities of parts daily. In this case, a VMM may be ideal for you. However, if you work with fewer parts, CMMs will suit you well. CMMs are also better at analyzing objects of varying sizes.
- The type of workpiece you want to measure also determines your needed machine. If you measure 3D objects, an image-measuring system cannot perform the necessary operations. This is because a VMM’s strength lies in its high resolution, which allows it to generate accurate 2D images.
- Do you want extreme precision down to a micron level? In that case, VMMs might suit you better. While both machines are excellent, VMMs provide precision of up to 0.25 microns.
- Are the parts that you measure fragile or moldable? In that case, opt for the VMM. They are non-contact machines. They can measure moldable objects, whereas CMMs cannot.
Conclusion
Whether you go for VMMs or CMMs, both are high-performing metrological instruments. They are guaranteed to accelerate your manufacturing process. Choosing the right machine will optimize your measuring and design pipelines. While both of them have similar functions, they have widely different applications. For a faster work rate, higher precision, and small objects, go for VMM. For versatility, 3D mapping, and heavy parts, go for CMM. If you remember the key points we shared in this article, buying a measuring machine will be smooth and easy.
About MXP
MXP is a leader in VMMs and CMMs. We provide efficient, reliable, quality inspection solutions using advanced optical tech and precise measurement systems. Contact us now.
